While working on the react native project, I found it hard to find the information regarding generating builds, APK and aab of the react native project. It is important to understand these concepts because you need to generate builds for testing purposes and run the native code in the React native project. Expo has made many things easy, but Expo Go cannot run the native codes you need to generate the build for the device, and it is hard to do with Expo Go. Expo GPO is also paid. You only have 30 builds per month for free. So let`s start the process step by step.
Step 1: Init the react native project
You can follow the React native documentation as well, but I have simplified the initial process of the React project here.
First of all, install the Chocolatey package manager.
Now install the node on your computer from the node official website.
After installing Nodejs, it’s time to install the Java JDK. run the following command on your computer CMD to install it using chocolatey.
choco install -y nodejs-lts microsoft-openjdk17Let’s start with the Android Studio installation; we need it because we need Android SDK, Platform tools and virtual devices for our React native (if not testing on physical devices).
Install the Android Studio from the Android Studio website.

Once Android is installed, open it; you will see the screen above, and click on more actions to install the Android SDK using Android Studio. When installing SDK, make sure that you select the latest version of Android and SDK Platform.
Once we finish the installation, let’s set the environment variables.
first of all, open your environment variable setup by searching on your computer search.
create a new variable with the name ANDROID_HOME, and, in the value part, set the path to your SDK.

Similarly, we are going to edit the path variable and the value of the platform-tools path as well. The path for platform tools will be:
Location on your computer \Android\Sdk\platform-toolsYes! Now, we are all set to create a new project; you can create a new project using the following command and wait for a while to get everything installed
npx react-native@latest init NewProjectStep 2: Running on Emulator
If you do not have any emulator created, because you are creating your first in your lifetime, go to Android Studio and click on the AVD Manager

once AVD manager is open you can now create your first virtual device

After creating the device, it’s time to run the project on it. Device creation exercise is just for the first time; you do not need to do that repeatedly.
Run the following command in the root folder in the CMD of your project to run the project
npm run start after the project is executed, you will see something like below

press a, and it will automatically start the emulator and run the project in the emulator.

Running on Physical Device
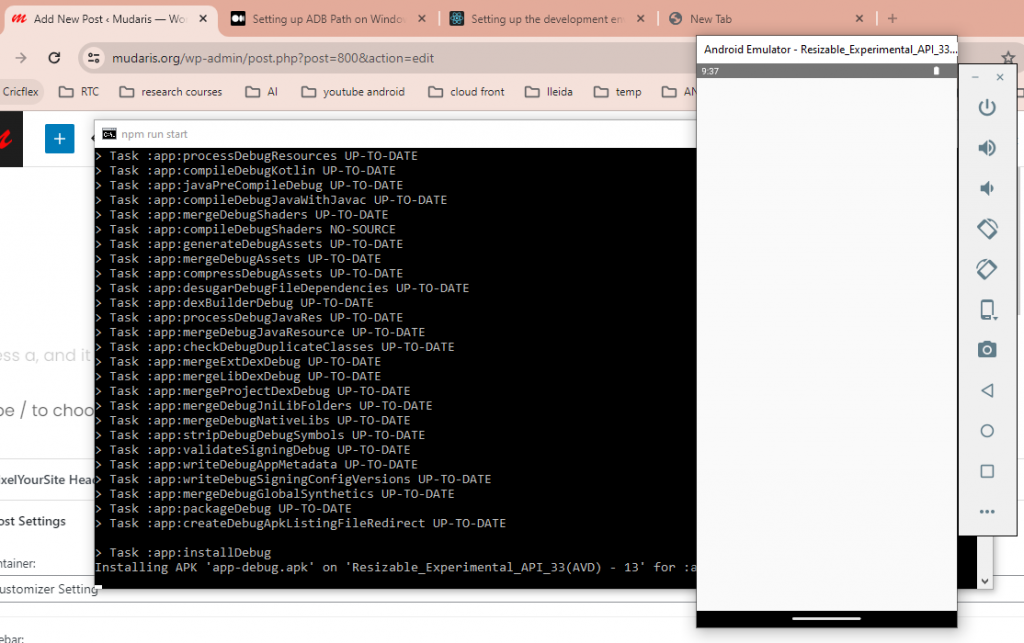
To run the application on the physical device, you have to enable the USB debugging of your mobile phone; once you are done with that then, connect your phone to the computer using the data cable and run the same command
npm run start this time, when you press a on the terminal, you will be installed on your physical device. You can use the following command to find the list of physical devices connected to your computer; if you cannot find the device, make sure to open the USB debugging.
adb devicesStep 3: Generate APK File
In order to generate an APK file, first got to android/app/src in your project direct and create a new folder called assets
now run the following command to create the index.android.bundle file for your project
react-native bundle --platform android --dev false --entry-file index.js --bundle-output android/app/src/main/assets/index.android.bundle once the index.android.bundle file is generate go the android folder of your project yourProjectName/android and run the following command
gradlew assembleRelease this command will create the apk file on the following location
yourProjectName/android/app/build/outputsStep 4: Create the signed AAB file to be uploaded on play store
Follow this blog to read more about this.


